Restoring a Classic Spectrum Analyzer Part 3 - Module Restoration
08/04/13 15:53
Knowing that my newly acquired HP 70000 series spectrum analyzer was in good serviceable condition prior to its complete disassembly and refurbishment was encouraging. If it didn’t work at the end of the process, at least I only had myself to blame!
I started by removing all of the MMS modules from the two mainframes. For each module, I planned on performing the following tasks:
1) Carefully remove their covers
2) Clean module interiors of dust/debris with compressed air and vacuum
3) Clean staining and dirt with alcohol soaked cotton swabs and lint-free tissue (Kim-wipes)
4) Clean all I/O connectors
5) Remove any previous asset identification and/or calibration stickers added after the factory (i.e. non HP markings)
6) Re-install covers and clean the module exteriors with damp cloth and alcohol
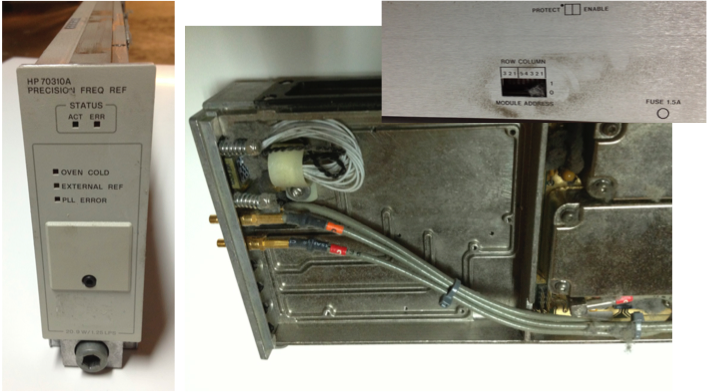
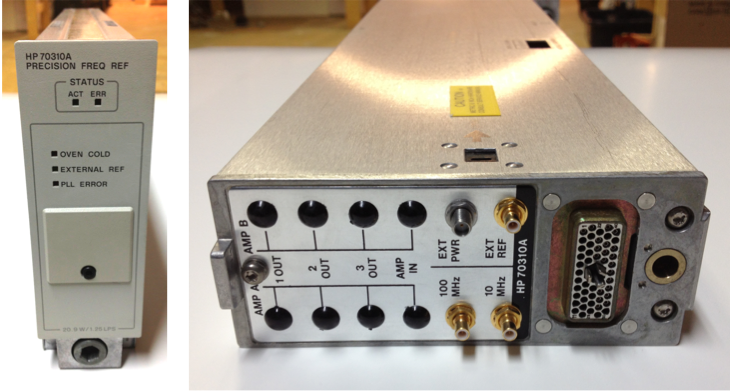
70310A Precision Frequency Reference
This module had typical accumulations of dust and dirt both inside and out. The front panel was marked with sticker debris and grime.
70310A Before
70310A After
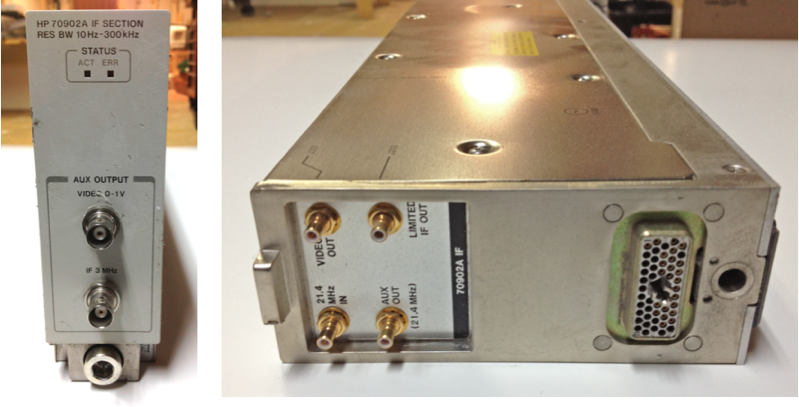
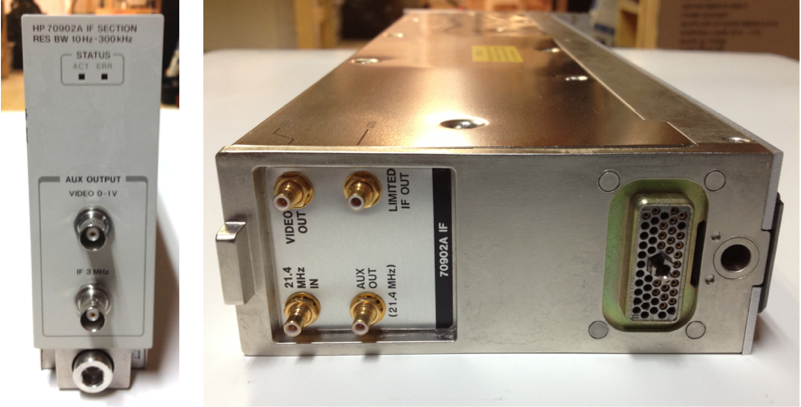
70902A IF Module (10 Hz – 300 kHz)
Before
After
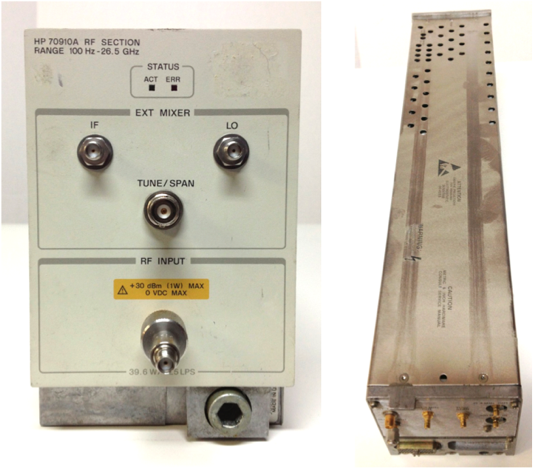
70910A RF Module (100 Hz – 26.5 GHz)
Before
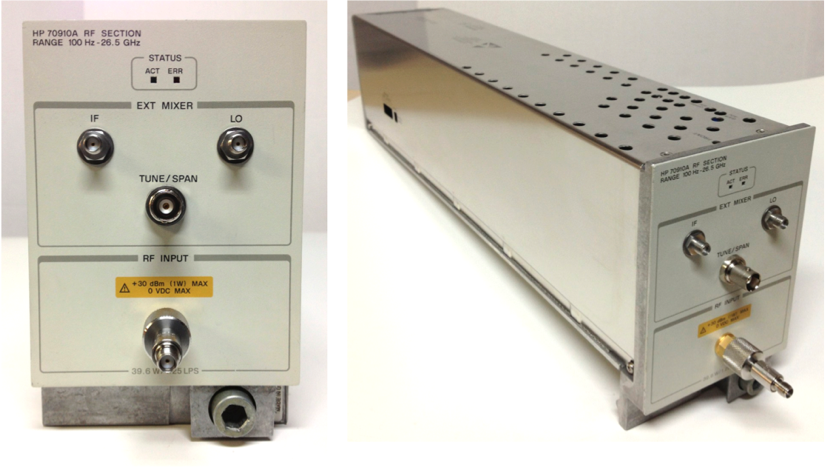
After
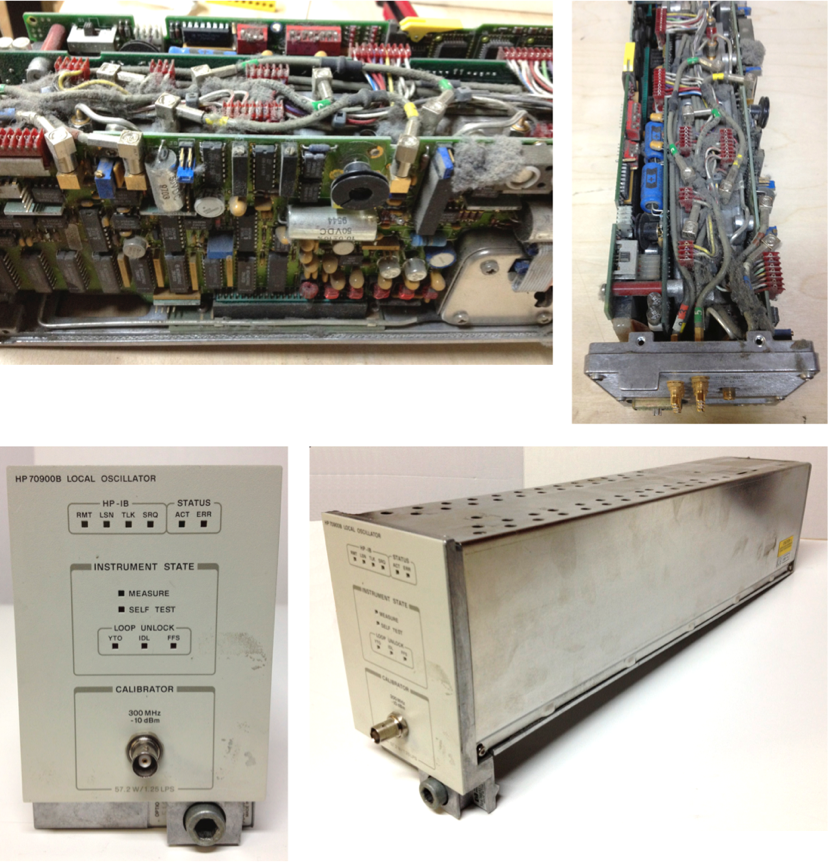
70900B Local Oscillator Module
Before
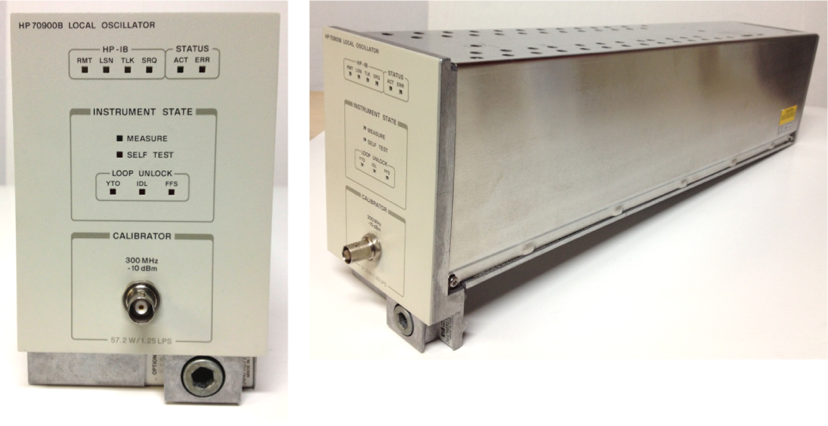
After
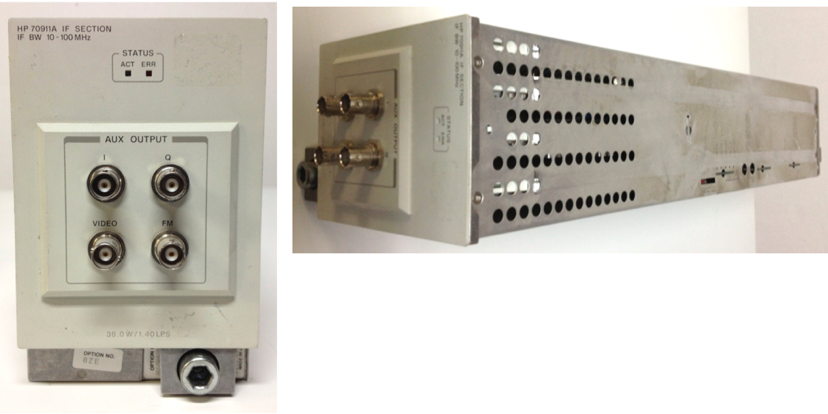
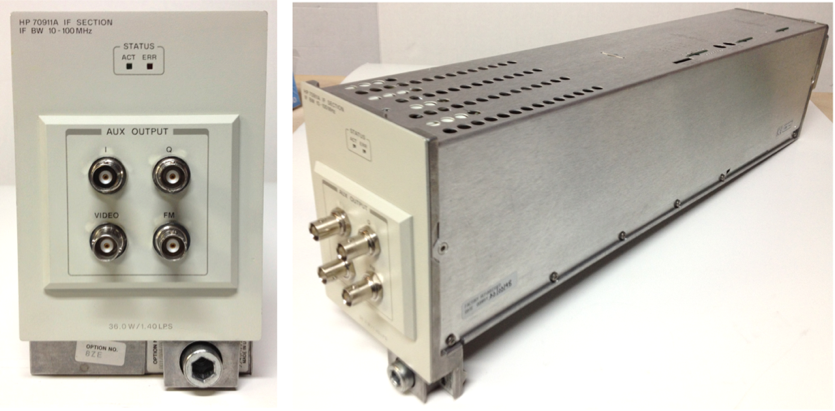
70911A Wideband IF Module
Before
After
Now that the modules have been fully cleaned and refurbished, all that remains are the MMS mainframes. In the next article, the process of stripping down and refurbishing the 70004A Colour Display mainframe and the 70001A mainframe will be described.
I started by removing all of the MMS modules from the two mainframes. For each module, I planned on performing the following tasks:
1) Carefully remove their covers
2) Clean module interiors of dust/debris with compressed air and vacuum
3) Clean staining and dirt with alcohol soaked cotton swabs and lint-free tissue (Kim-wipes)
4) Clean all I/O connectors
5) Remove any previous asset identification and/or calibration stickers added after the factory (i.e. non HP markings)
6) Re-install covers and clean the module exteriors with damp cloth and alcohol
70310A Precision Frequency Reference
This module had typical accumulations of dust and dirt both inside and out. The front panel was marked with sticker debris and grime.
70310A Before
70310A After
70902A IF Module (10 Hz – 300 kHz)
Before
After
70910A RF Module (100 Hz – 26.5 GHz)
Before
After
70900B Local Oscillator Module
Before
After
70911A Wideband IF Module
Before
After
Now that the modules have been fully cleaned and refurbished, all that remains are the MMS mainframes. In the next article, the process of stripping down and refurbishing the 70004A Colour Display mainframe and the 70001A mainframe will be described.